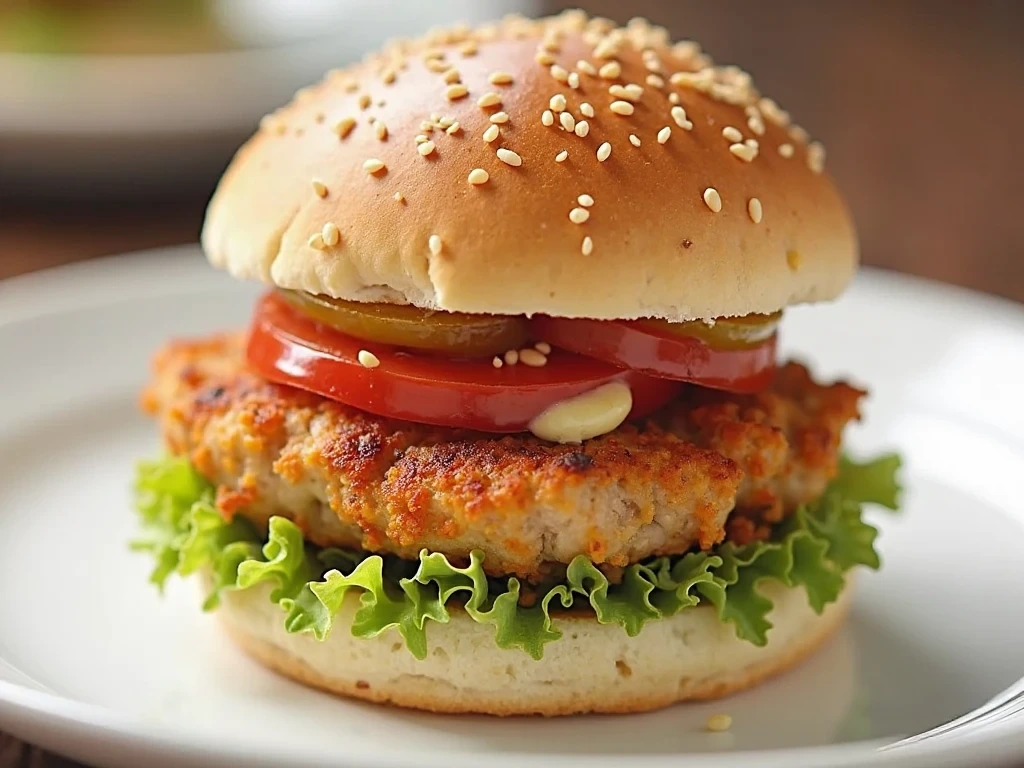
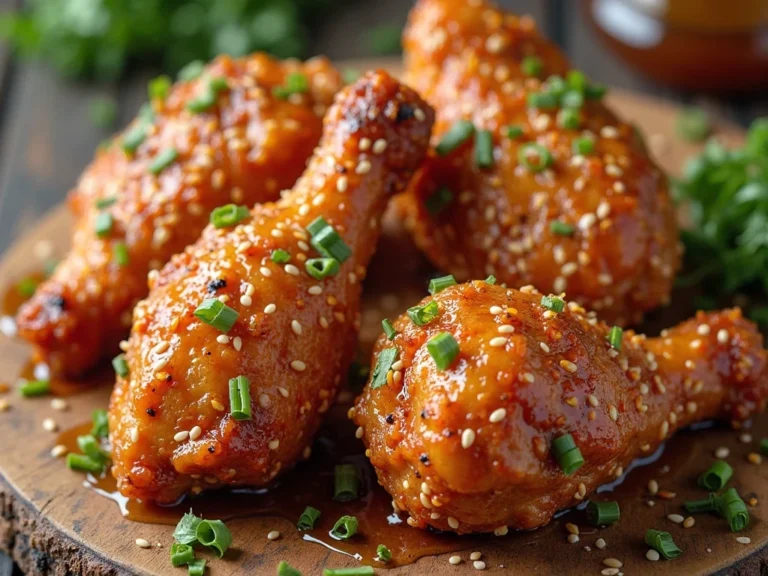
Easy Chicken Slider Recipe for Any Occasion – Your New Crowd-Pleasing Secret
Picture this: You’ve got friends arriving in 30 minutes, and you need something delicious that will disappear as fast as the laughs at your party. That’s where these irresistible chicken sliders come in – the ultimate lifesaver for any host. Whether you’re feeding hungry game-day fans, throwing a birthday bash, or just want a fun twist on family dinner night, this chicken slider recipe has saved my sanity more times than I can count.
Table of Contents
Why These Chicken Sliders Will Become Your Go-To Recipe
Let’s be honest – when hunger strikes, nobody wants complicated. That’s why this recipe checks all the boxes:
- Lightning fast – From fridge to table in under 30 minutes
- Crazy versatile – Dress them up or down for any occasion
- Kid-approved – Even picky eaters can’t resist the mini size
- Make-ahead magic – Prep components ahead for stress-free entertaining
Pro Tip: According to catering experts, sliders rank among the top 3 most popular party foods because they’re easy to eat while mingling. No plates needed!
Gathering Your Chicken Slider Ingredients
This recipe shines because it keeps things gloriously simple. Here’s what you’ll need:
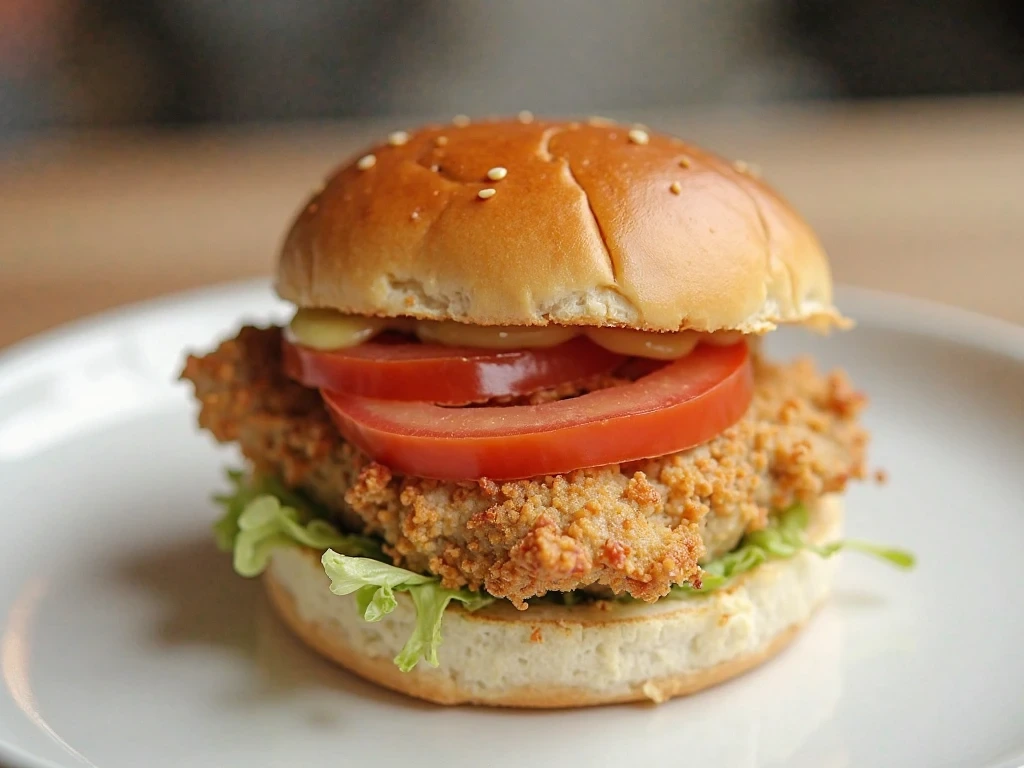
| Ingredient | Why It Works | Easy Swaps |
| Ground chicken (1 lb) | Stays juicy while cooking | Shredded rotisserie chicken (2 cups) |
| Hawaiian rolls (12 pack) | Sweetness balances savory | Brioche or whole wheat buns |
| BBQ sauce (½ cup) | Classic crowd-pleaser | Buffalo, teriyaki, or ranch dressing |
| Garlic powder (1 tsp) | Deepens flavor | Fresh minced garlic (2 cloves) |
| Colby Jack cheese (1 cup) | Melts perfectly | Pepper jack or cheddar |
Shopping Hack: Look for pre-seasoned ground chicken to save even more time. The Italian or Southwest blends work beautifully.
Step-by-Step: Foolproof Chicken Slider Assembly
Prepping the Star of the Show
- Brown the chicken – Heat a skillet over medium and cook your ground chicken with garlic powder until no pink remains (about 5-6 minutes). Break it into crumbles as it cooks.
- Sauce it up – Reduce heat to low and stir in your BBQ sauce until every piece is coated. Give it a happy 2-minute simmer to let all those flavors get acquainted.
Troubleshooting Tip: If your mixture looks dry, add a tablespoon of chicken broth or water to loosen it up.
Building Your Slider Masterpiece
- Prep the buns – Without separating the rolls, slice the entire package horizontally so you have one solid top and bottom “sheet” of buns. This assembly-line approach saves tons of time.
- Layer like a pro – Spread your chicken mixture evenly across the bottom buns. Top with shredded cheese – don’t be shy!
- The finishing touch – Place the top “sheet” of buns over your cheesy chicken layer. For extra credit, brush the tops with melted garlic butter.
The Secret to Perfectly Melted Goodness
- Bake to perfection – Pop your slider “loaf” into a 350°F oven for about 8-10 minutes just to melt the cheese and slightly toast the buns.
- Slice and serve – Use a sharp knife to cut between the rolls into individual sliders. Watch them disappear!
Presentation Pro Tip: Skewer each slider with a decorative toothpick to keep toppings in place and make serving even easier.
5 Show-Stopping Chicken Slider Variations
1. Buffalo Blue Cheese (For Spice Lovers)
- Swap: Hot sauce instead of BBQ + crumbled blue cheese
- Garnish: Celery sticks and ranch drizzle
- Perfect for: Tailgates and sports parties
2. Hawaiian Luau Style
- Add: Grilled pineapple rings and teriyaki glaze
- Bonus: Top with crispy bacon strips
- Perfect for: Summer cookouts
3. Mediterranean Twist
- Swap: Tzatziki sauce and feta cheese
- Add: Sliced cucumbers and kalamata olives
- Perfect for: Bridal showers or brunch
4. BBQ Ranch Crunch
- Add: Crispy fried onions and ranch drizzle
- Secret: Mix ranch powder into your chicken
- Perfect for: Potlucks and family reunions
5. Breakfast Sliders
- Swap: Scrambled eggs and maple chicken sausage
- Add: American cheese and hash brown patties
- Perfect for: Brunch gatherings
Pro Tips Guaranteed to Elevate Your Slider Game
- Bun insurance: Lightly toast buns before assembling to prevent sogginess
- Sauce secret: Keep extra sauce on the side for dipping
- Make-ahead magic: Cook chicken mixture 2 days ahead; assemble before serving
- Freezer friendly: Freeze cooked chicken in portions for future slider emergencies
- Presentation points: Serve on a wooden board with garnish skewers for Instagram-worthy appeal
Storage Tip: Leftover assembled sliders? Wrap tightly in foil and refrigerate for up to 2 days. Reheat in a 300°F oven for 10 minutes to revive the crispiness.
Your Chicken Slider Questions Answered
Can I make these sliders ahead of time?
Absolutely! The chicken mixture keeps beautifully for 3 days in the fridge. For best results, assemble just before serving to maintain perfect bun texture.
What’s the best way to reheat leftover sliders?
Oven is king here. Wrap in foil and warm at 325°F for about 10 minutes. The microwave will make buns rubbery – avoid if possible.
How can I make this recipe healthier?
Try these easy swaps:
- Ground turkey instead of chicken
- Whole wheat or low-carb buns
- Greek yogurt-based sauces
- Load up on veggie toppings like spinach and tomatoes
What if I want to use chicken breasts instead of ground chicken?
Sure thing! Simply shred cooked breasts and mix with your sauce. You’ll need about 3 cups of shredded meat for 12 sliders.
Why This Recipe Will Become Your Entertaining MVP
After testing dozens of variations, this chicken slider recipe has earned its place as my most-requested party dish. They’re the perfect combination of:
- Effortless – No fancy techniques required
- Adaptable – Endless flavor possibilities
- Reliable – Always disappears first at gatherings
- Memorable – Guests will beg you for the recipe
The next time you’re staring at your fridge wondering what to make for unexpected guests, remember this slider blueprint. In less time than it takes to decide on takeout, you can have a tray of these golden beauties ready to impress.
Your Turn: Which variation are you most excited to try? Snap a pic of your slider creation and tag #SliderHero – I’d love to see your tasty twists on this foolproof recipe! For more crowd-pleasing ideas.
Tried any of our recipes lately?
There are no reviews yet. Be the first one to write one.

